


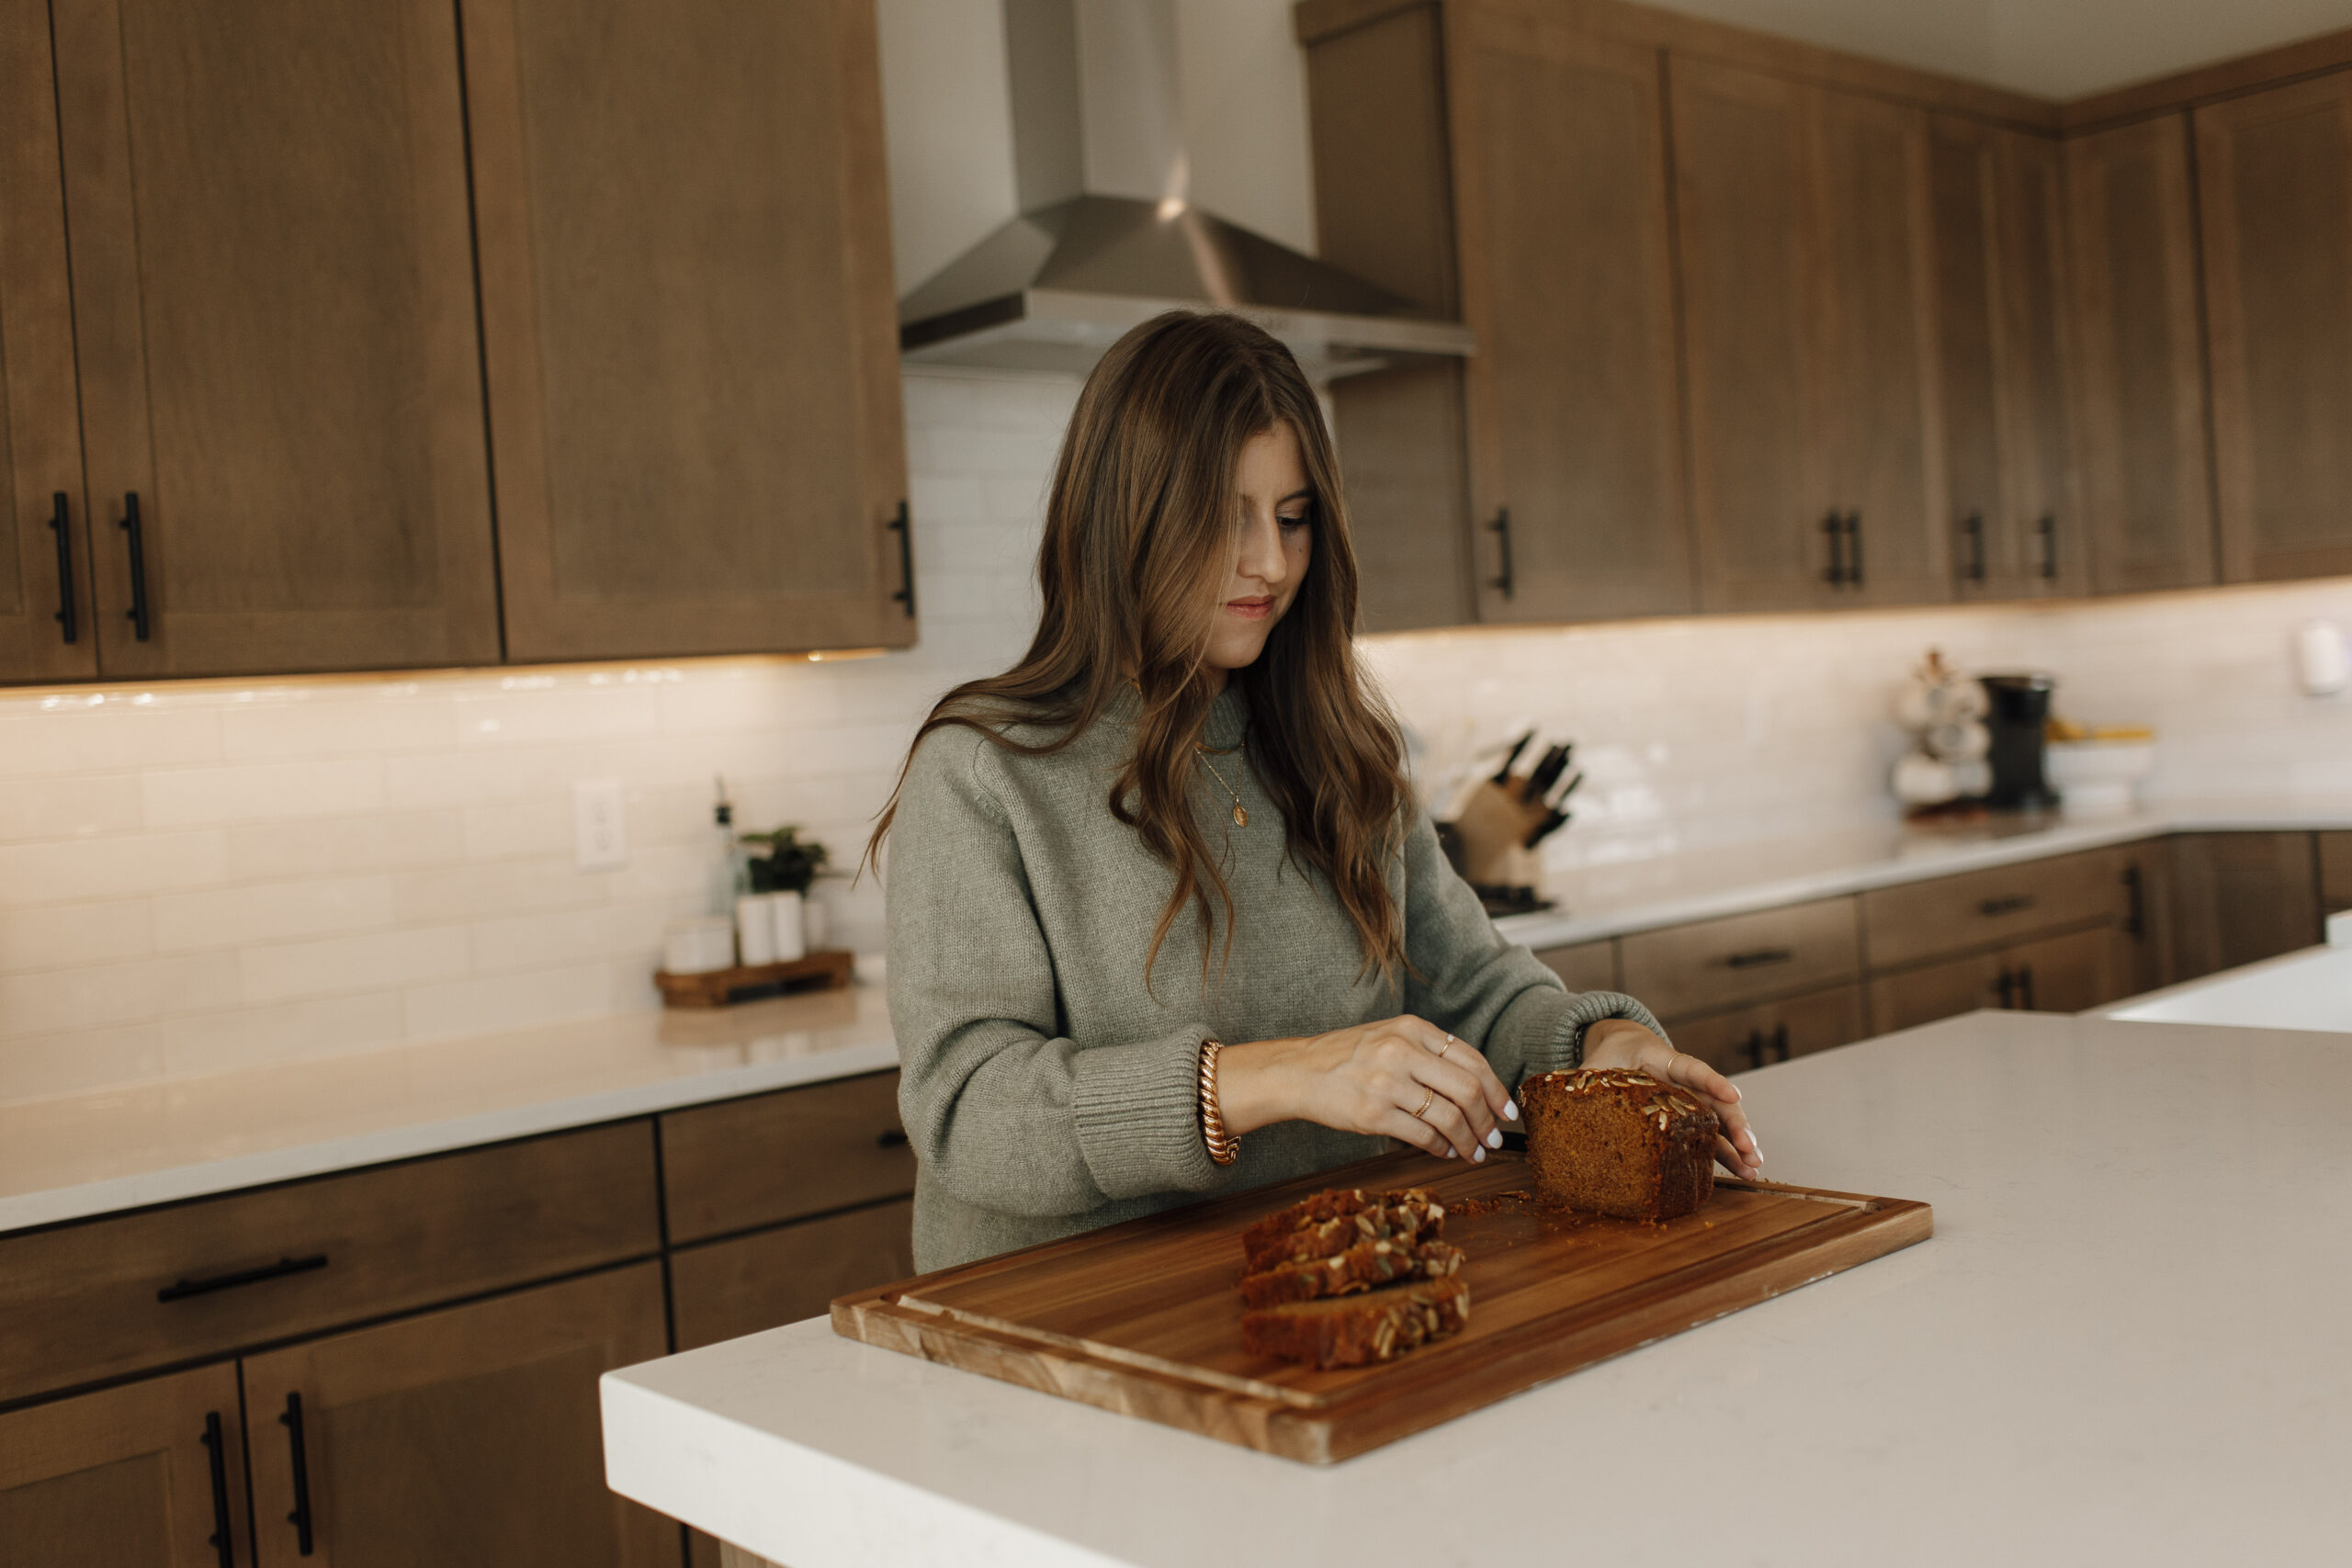
There’s something so special about the process of making sourdough—the simplicity of flour, water, and salt coming together to create a nourishing, homemade loaf. Sourdough is truly easy to do, once you learn the basic concept of it, it just takes dedicating time for stretching and folding and rising throughout a full day. I honestly see it as a hobby and it has become therapeutic to me. And a bonus is I avoid all the unnecessary and nasty ingredients your mainstream store bought bread has! I’ve tried a few different recipes, but this one is a mix of two and has become my go-to. It’s easy enough to fit into my day, simple enough to memorize, and practical for making weekly.
I’ve included **two ingredient ratio options** because I’m still perfecting that *just right* balance!
Which One Should You Choose?
- Option 1 gives you a super soft, fluffy loaf with a more subtle sourdough taste. It’s a smaller loaf, so I often double it to make two.
- Option 2 has a stronger sourdough flavor and a more airy, classic artisan texture.
Whichever you choose, you’re in for a delicious homemade loaf! Try both and see what you like best.
—
Sourdough Recipe
Option 1
– 71g starter
– 266g water
– 8g salt
– 355g bread flour
Option 2
– 100g starter
– 380g lukewarm water
– 500g bread flour
– 10g pink Himalayan salt
Instructions
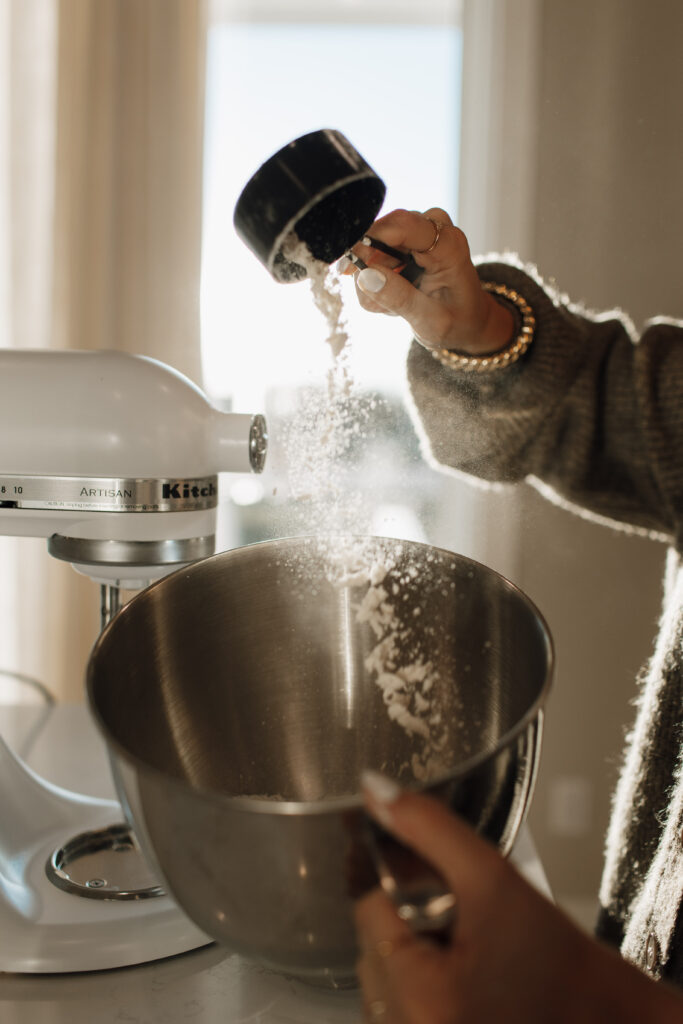
1. Mix Ingredients
In a large bowl, whisk together the starter, water, and salt until the mixture turns milky.
2. Add Flour & Form Dough
Add the bread flour and knead by hand until you have a shaggy ball of dough.
3. First Rest (30 Minutes)
Cover with a tea towel and let it rest for 30 minutes.
4. Stretch & Fold (Over 3 Hours)
Perform a stretch and fold (4-6 times) every 30 minutes for a total of 3 hours. This helps build strength in the dough.
5. Preshape Your Dough
Lightly flour your counter. Gently stretch the dough into a rectangle, fold it into thirds like an envelope, and roll it up from the short end. Scoop underneath and turn the loaf to create tension.
6. Let it Rest (20 Minutes)
Cover with a tea towel and let it sit.
7. Final Shaping
Repeat step 5 for the final shape.
8. Overnight Rise
Place the dough in a banneton (or a bowl with a floured tea towel) and cover. Let it rise in the fridge overnight.
9. Preheat Oven & Dutch Oven
When ready to bake, preheat your oven to 475°F. Place your Dutch oven inside to preheat.
10. Score & Bake
Place parchment paper in the Dutch oven. Take the dough out of the fridge, score it, and place it inside.
– Bake for 25 minutes with the lid on.
– Bake 10-15 minutes with the lid off. Keep an eye on the color—I prefer a light golden crust!
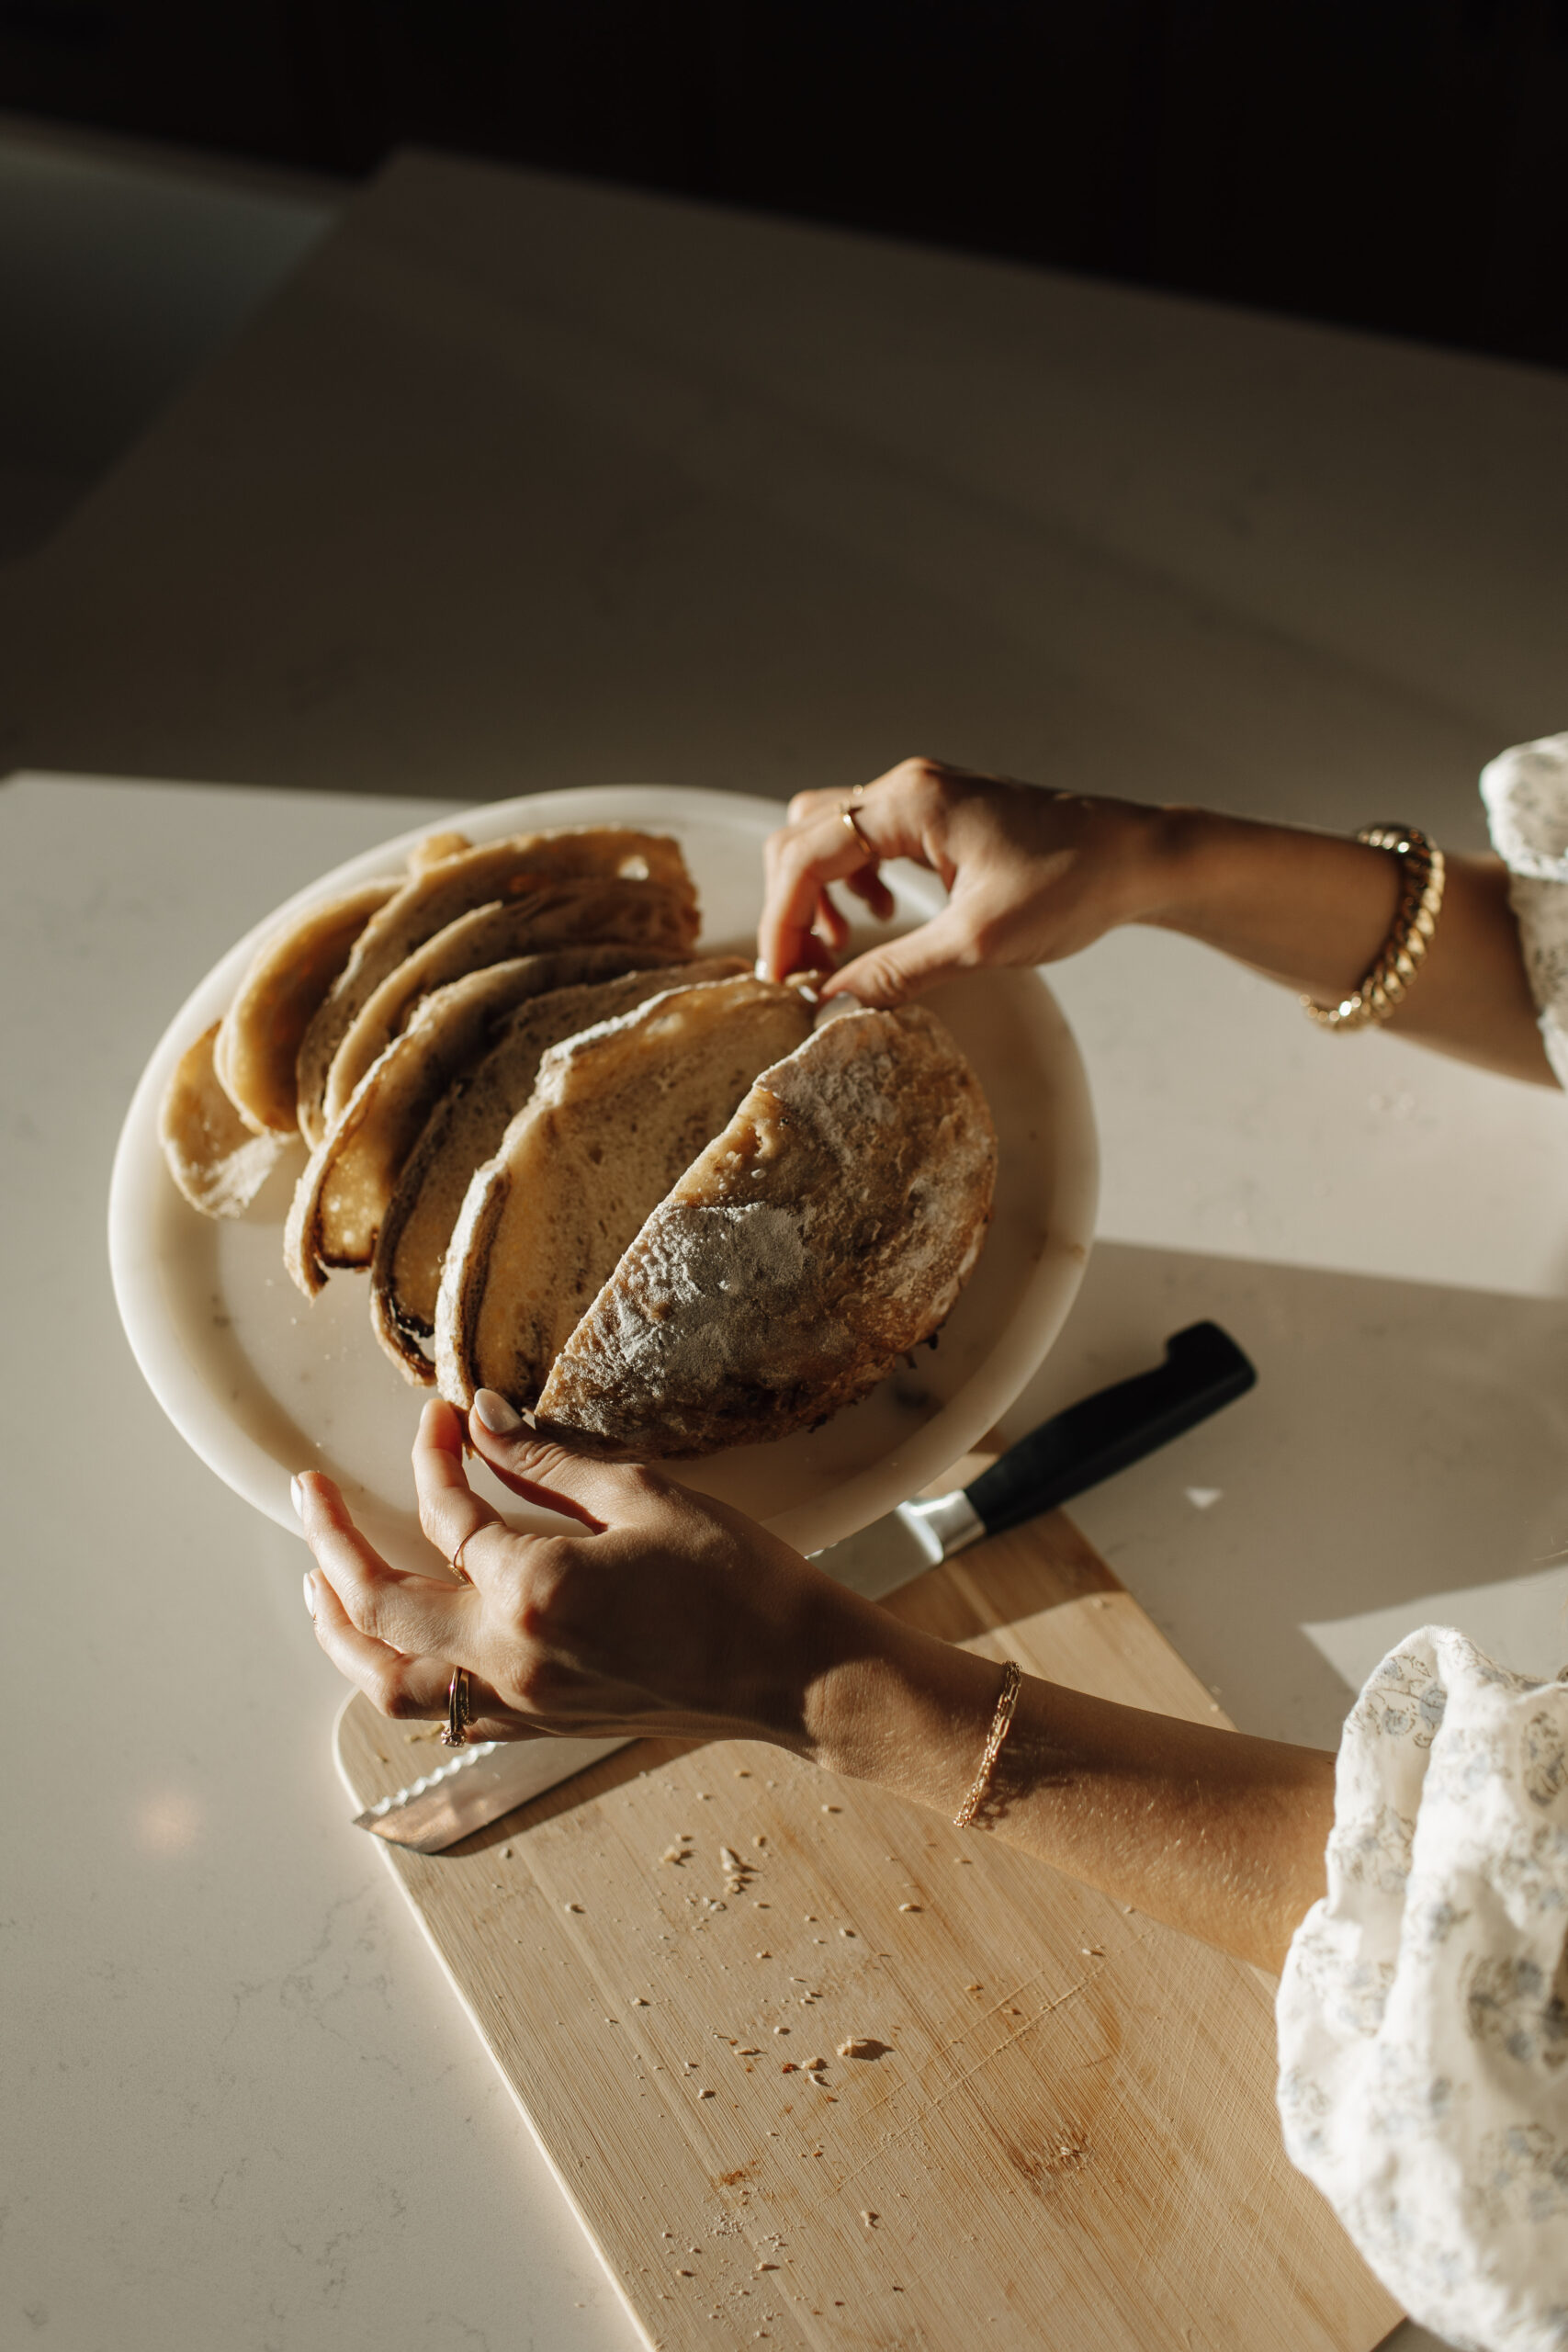
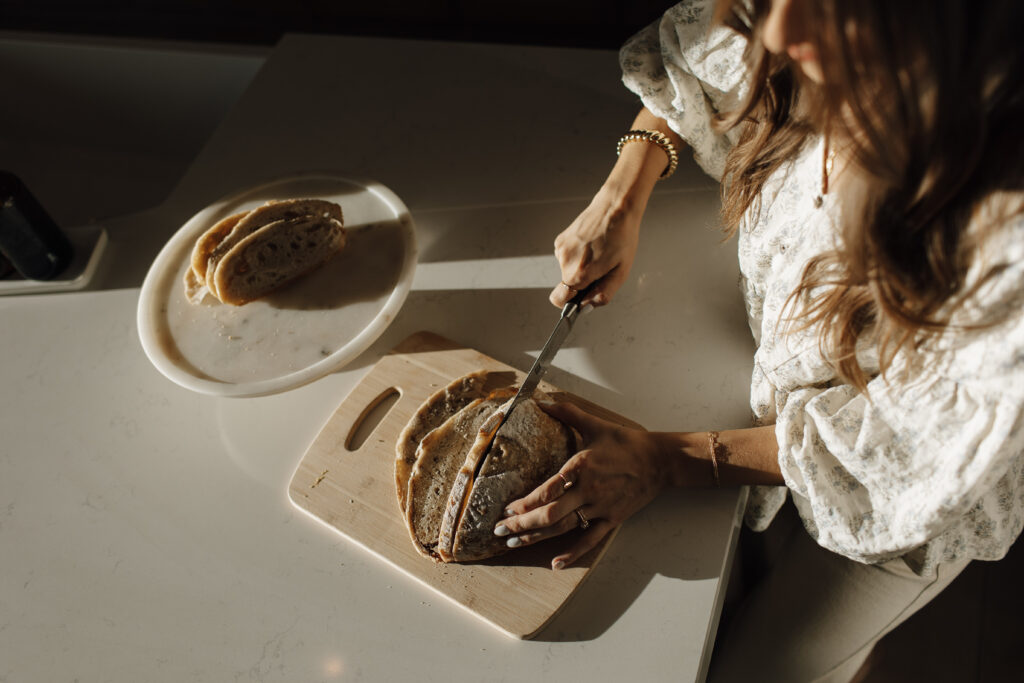
11. Cool & Enjoy
Let your bread cool for 2 hours before slicing. (I know, it’s hard to wait!)
This process has become such a comforting rhythm in my home, and I hope it brings joy to yours too! If you try it, let me know which version you love best. Happy baking! 🍞✨


Read the Comments +